
If you ever tried capturing sun flare and ended up with just a blob of bright light on your photos – keep on reading. In this short guide, we will give you 7 quick and easy tips for creating better-looking sun flare photos. Don’t worry, you won’t need any special tools or equipment. With a bit of knowledge in photography and creativity on your hand, you can have extraordinary results.
WHAT CAUSES SUN FLARES AND HOW TO GET THEM IN YOUR PHOTOS?
To capture sun flare you need to point your camera lens directly towards the sun. This means the rays of sunshine have direct access to the inside of your lens, creating the lens flare!
While most commonly used in landscape photography we don’t want you to limit yourselves. Lens flares, if used correctly, can give a bit of excitement and wow-factor to any kind of photography – whether you’re shooting portraits, products, families, and pets, or weddings.
How to capture better sun flares?
1. Use the right camera settings
The most important thing in your camera settings when shooting sun flares is aperture. Your aperture controls the amount of light that passes through your lens while dictating your depth of field. At the same time, the points of the flare are created by the blades of the aperture inside your lens.
Set your camera aperture anywhere from f/11 to f/22 for best results. The important thing to know here is: The wider the aperture, the softer the flare. If you use a wider aperture (f/8 or wider) your sun flares will look very soft. As the blades come closer together (as with narrow apertures like f/22), the more hard-edged and starry the flare will become.
Try to play around with aperture and see for yourself how different results you can get.

With the aperture set to your preferences the other setting that you should look out for is ISO. As a general rule, you should try to keep the ISO as low as possible (ideally 100), without sacrificing shutter speed. Having low ISO will ensure that you get crisp and sharp sun flares, without noise and grain that would compromise your flares.
So start with an ISO of around 100, and only raise it when necessary.
2. Take advantage of the live view
This might be the quickest but most useful tip of all. Don’t look directly through your eye finder when taking sun flare photos. Instead, take advantage of your LCD screen with a live view. It will not only make it easier to create a better photo composition but it will also protect your eyes from direct harsh light.
3. Get some sturdy help
If you know a bit about your camera settings you would realize by now that if you set a narrow aperture and low ISO only a small amount of light will come in. So you have to compensate with slow shutter speed to ensure that you end up with a well-lit photo. Because you don’t want to end up with blurry photos it’s best to use a tripod. Having a tripod will ensure that you can use the best settings for capturing sun flares and avoid camera shakes. For even greater results use remote shutter release or the camera’s self-timer. This ensures there’s no shake in your camera when you hit the shutter button.
Using a tripod will help keep your photos looking sharp and your sun flares looking crisp.
If you would like to back up your technical knowledge, we can recommend Inspiracles Cheat Sheet* – an easy and fun way to learn about photography. With the correct technical setup and a little help from your equipment, you are on a good way to create some breathtaking lens flares. What more do you need then? Some creativity! The next set of tips are focusing on how to bring the most out of sunbursts.
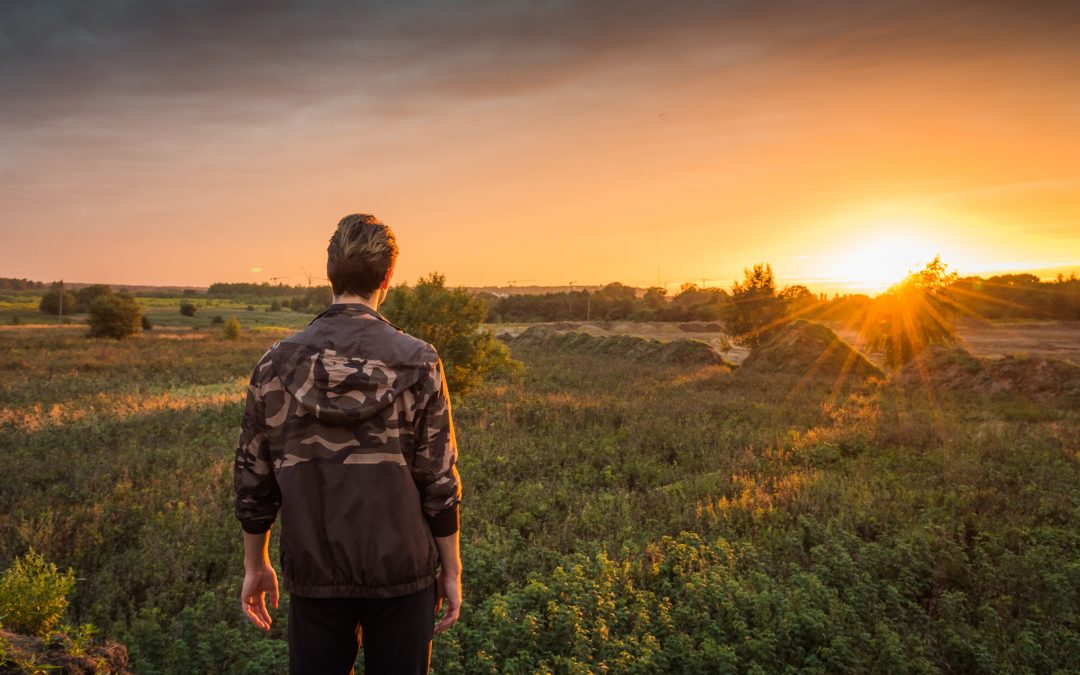
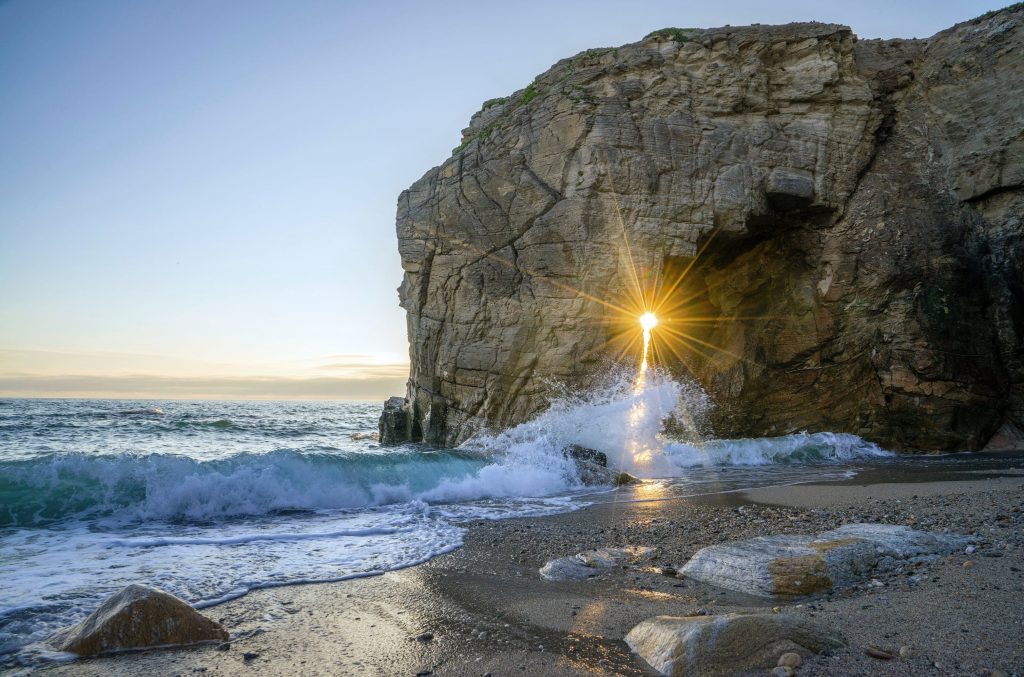
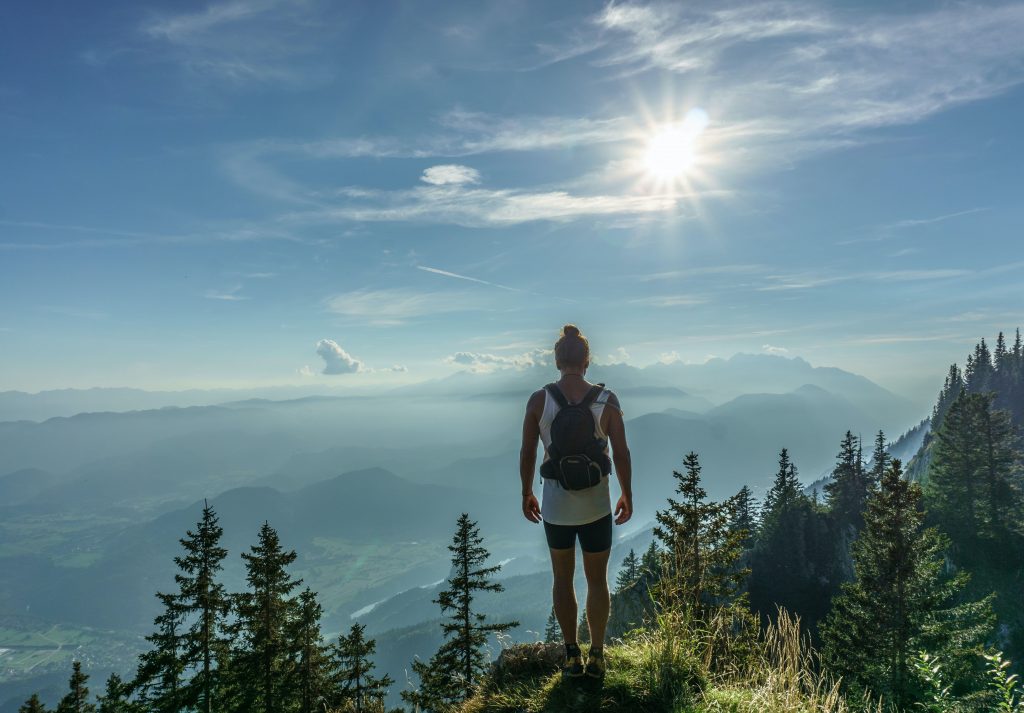
4. Partially block the sun
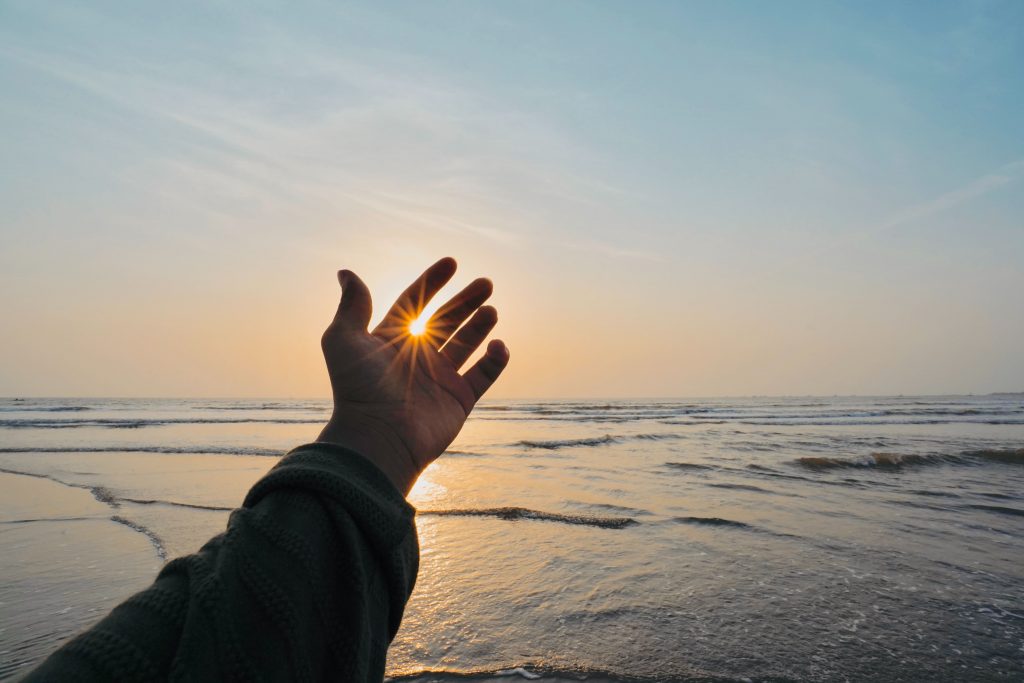
Here’s how to create the magic: Find a subject to place directly in front of the sun. Then change your angle until the sun is partially peeking from behind the subject. Your subject can be anything: a mountain, tree branches, a person, your own hand – the possibilities are limited only by your imagination. When you partially hide the light behind a subject it causes the light to spread across the shadowed area and really stand out.
You will capture the best flares when only part of the sun is visible.
5. Move around and make sure you take enough pictures… and then some more!
A little goes a long way in sun flare photos. If you’re partially hiding the sun behind a subject, like mentioned in the previous tip, you wouldn’t believe how much difference can make just one step to the left (or right). So when taking photos of lens flares take a few shots in different positions. Each position will bring different results depending on how much light shines through your subject. And take a lot of photos! Even though you might think that you captured the perfect flare, the better one might be just around the corner.
So get on your feet, or lie to the ground but move around until you hit just the right spot for that perfect flare.
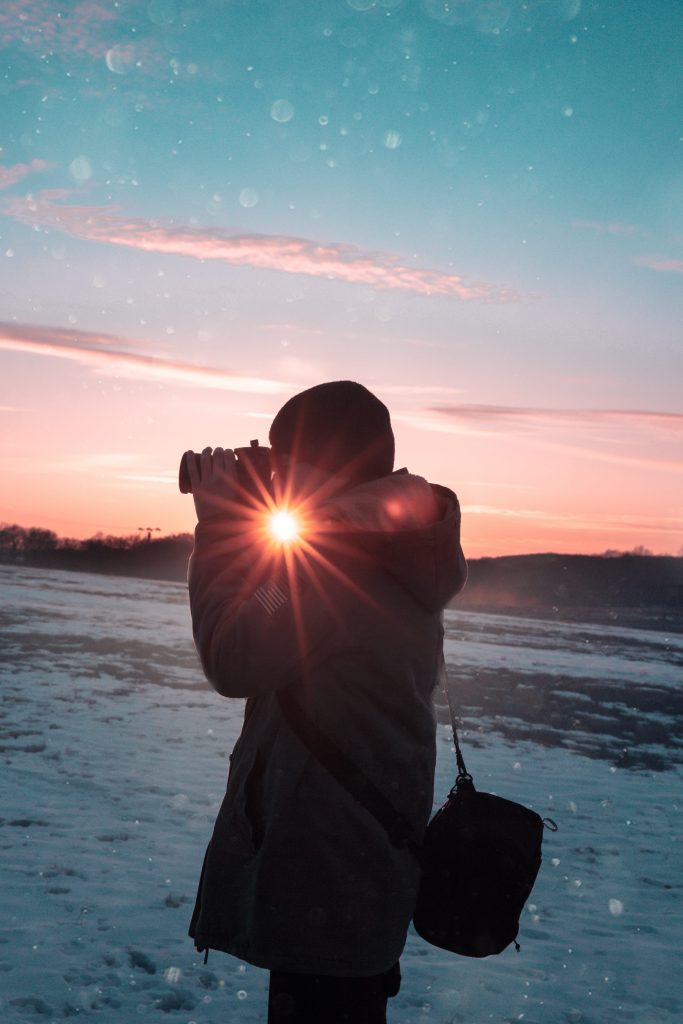
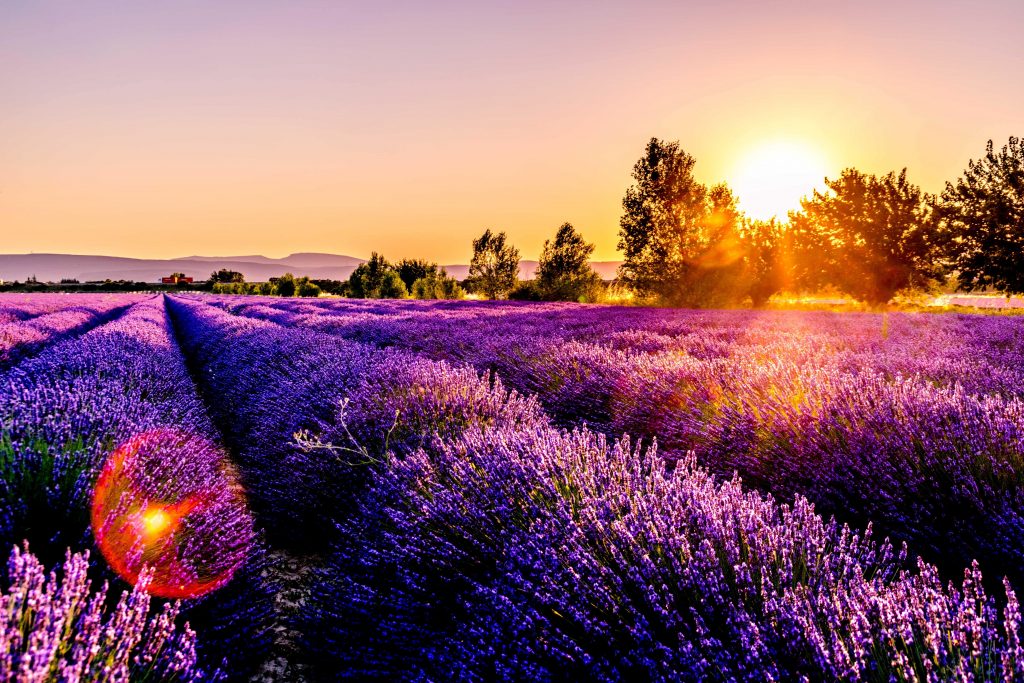
6. Choose the best time of a day
You can find and photograph sun flares any time of the day. However, you will achieve the best composition with sunrises and sunsets as the lens reflections come at a unique angle. Bear in mind that if you go out to shoot at noon the sun will be much higher in the sky so you would have to change your perspective to catch the flares in the photos. Another thing to consider is that during golden hour sun flares will be much warmer with a yellow/golden glow. Whereas if you shoot mid-day they will have cooler/bluish tones.

7. Have fun!
Photography should be exciting! Experiment with different settings, unique angles, and compositions. Use different objects to partially block the light. See how you can achieve different effects if you shoot from the ground or a height. Move around, take a lot of pictures and be creative! Play around and have fun!
We look forward to seeing how you can harness the power of the sun in your images.
If you catch a good sun flare be sure to share it in our Facebook group and use hashtag #InspiraclesSunflare to participate in our September challenge.
* This is an Amazon affiliate link. If you buy through this link, you don’t pay a cent more, but you support Inspiracles because we get a little bit of the returns.


Recent Comments